|
Pattern/ Prints
In fashion design, patterns and prints are incredibly important. A specific pattern or print can set the entire mood/ feeling of the piece you are designing. Polka dots indicate youth, whereas a pinstripe would indicate a business or mature style. There are HUNDREDS of prints and patterns. Some patterns are universal, like polka dots, and some patterns are complete original creations unique to a specific fashion designer. In order to create anything new we must first know where we came from! Novelty Prints:
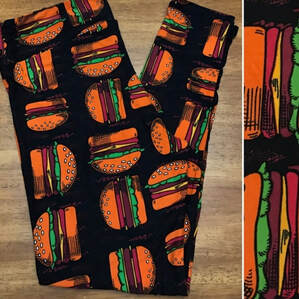
These are prints that usually appeal to a very specific buyer. Not everyone is going to want to wear hamburger or outer-space leggings, so these kind of prints are for more of a niche market. |

|
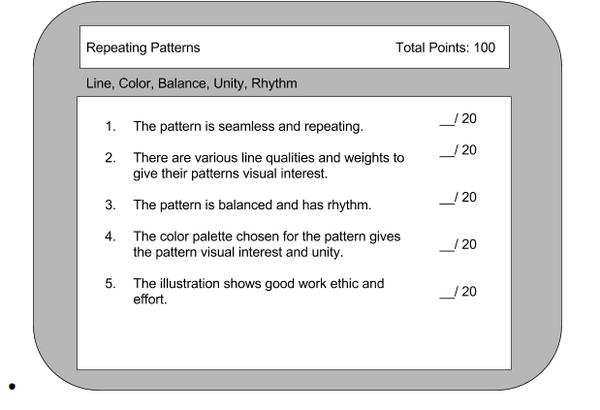
Assignment # 2
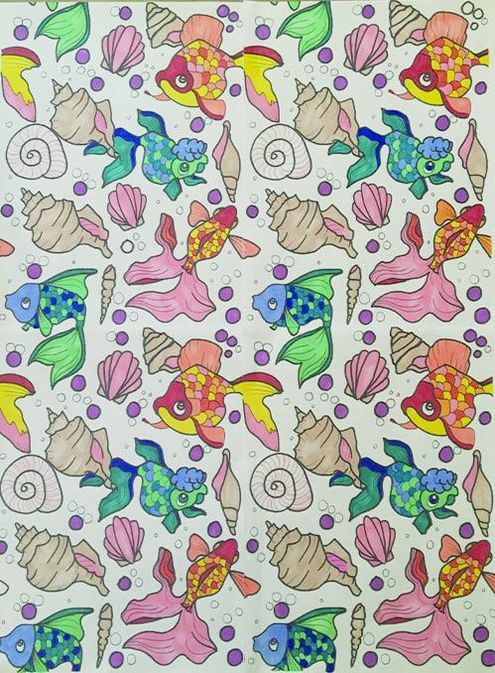
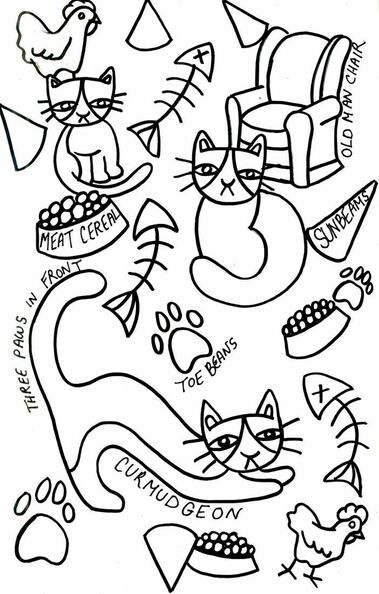
You are to create your own repeating original pattern by hand that will be finished in color in Photoshop or completed with markers/ colored pencils. It must include the following:
Video and Pdf Tutorials Below : Part 1: Creating Your Pattern
Part 2: Making Your Pattern Repeat
|

Part 2 PDF Tutorial Below:
| ||
Written Steps: These steps are what is in the first 2 videos above.
Step 1:
Draw a collection of objects on your sheet of paper. OVERLAP!! DO NOT MAKE IT A PATTERN AT ALL YET!! Fill the paper. DO NOT GO OVER THE EDGES. Go over your lines in thick and thin sharpie.
Step 2:
Bring me your drawing. I will cut it apart and tape it back together as needed and scan it in. You will then fill in any empty areas with more pencil drawings you will then ink in. Hand it to me for scanning when you are done with this step.
Step 3:
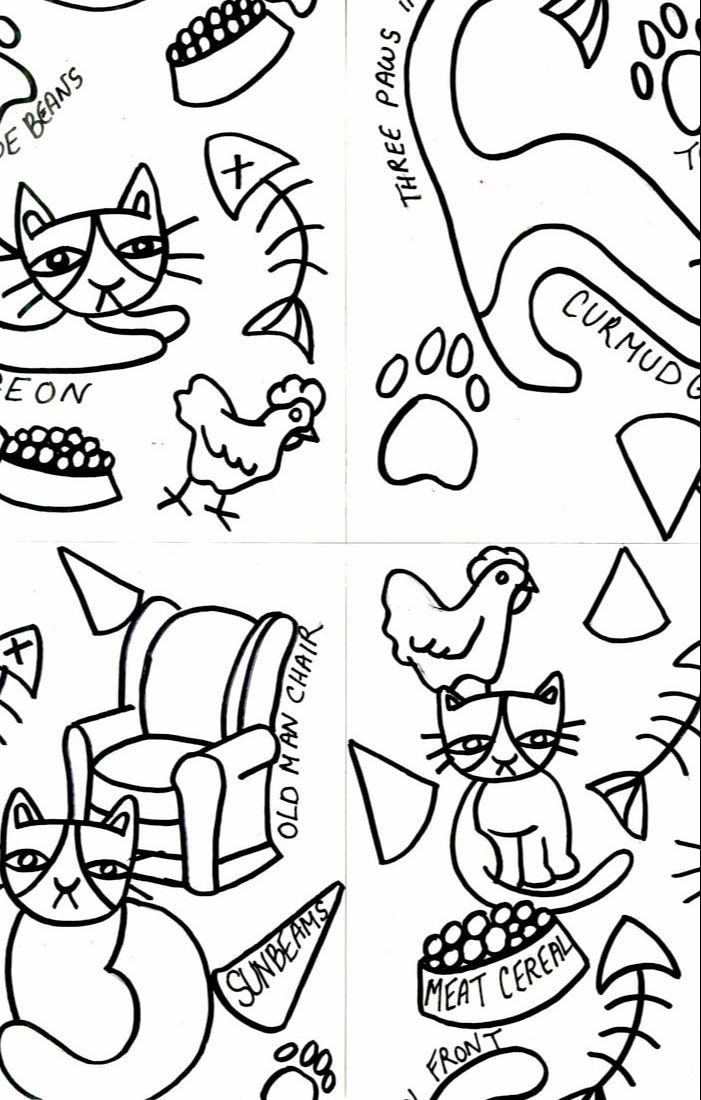
Open a NEW PHOTOSHOP FILE 8.5 x 11" 300 RESOLUTION! Open your scan from the share folder. Copy and paste it into that new photoshop file.
Step 4:
Scale it down to fit into the upper left hand corner.
Step 5:
Duplicate that layer 3 times. Line up the tiles together. Get them to line up as best you can. IT WILL NOT BE PERFECT YET! THERE WILL BE GAPS!
Step 6:
Merge all the layers together. Then use the brush tool, small, black and fill in any gaps in the lines.
Step 7:
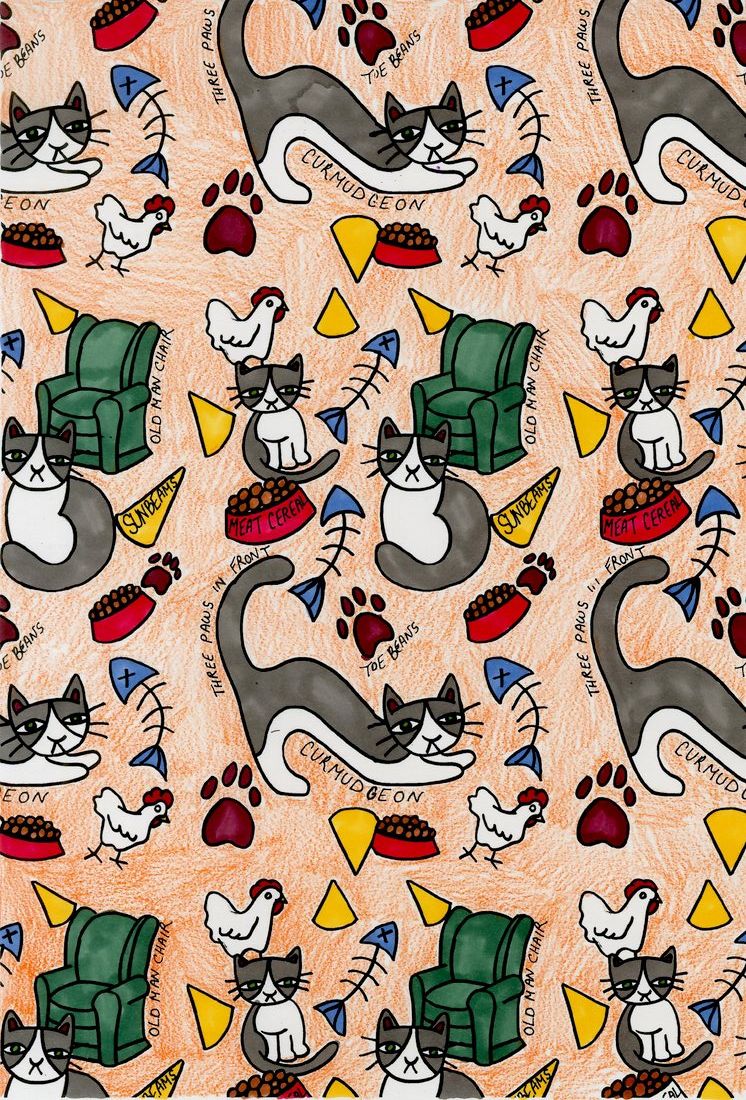
If you want to color it in digitally at this point please do so. Use the selection tools like the magic wand to select areas to fill in using the paint bucket or gradient tool or we can print your pattern out and you can color with marker.
Step 8:
Once colored, we will scan it back into the computer and turn that in on google classroom. Or if you colored it digitally, export it as a png then turn that in on google classroom.
Step 1:
Draw a collection of objects on your sheet of paper. OVERLAP!! DO NOT MAKE IT A PATTERN AT ALL YET!! Fill the paper. DO NOT GO OVER THE EDGES. Go over your lines in thick and thin sharpie.
Step 2:
Bring me your drawing. I will cut it apart and tape it back together as needed and scan it in. You will then fill in any empty areas with more pencil drawings you will then ink in. Hand it to me for scanning when you are done with this step.
Step 3:
Open a NEW PHOTOSHOP FILE 8.5 x 11" 300 RESOLUTION! Open your scan from the share folder. Copy and paste it into that new photoshop file.
Step 4:
Scale it down to fit into the upper left hand corner.
Step 5:
Duplicate that layer 3 times. Line up the tiles together. Get them to line up as best you can. IT WILL NOT BE PERFECT YET! THERE WILL BE GAPS!
Step 6:
Merge all the layers together. Then use the brush tool, small, black and fill in any gaps in the lines.
Step 7:
If you want to color it in digitally at this point please do so. Use the selection tools like the magic wand to select areas to fill in using the paint bucket or gradient tool or we can print your pattern out and you can color with marker.
Step 8:
Once colored, we will scan it back into the computer and turn that in on google classroom. Or if you colored it digitally, export it as a png then turn that in on google classroom.
1 2 3
|
|
|
|
|
|
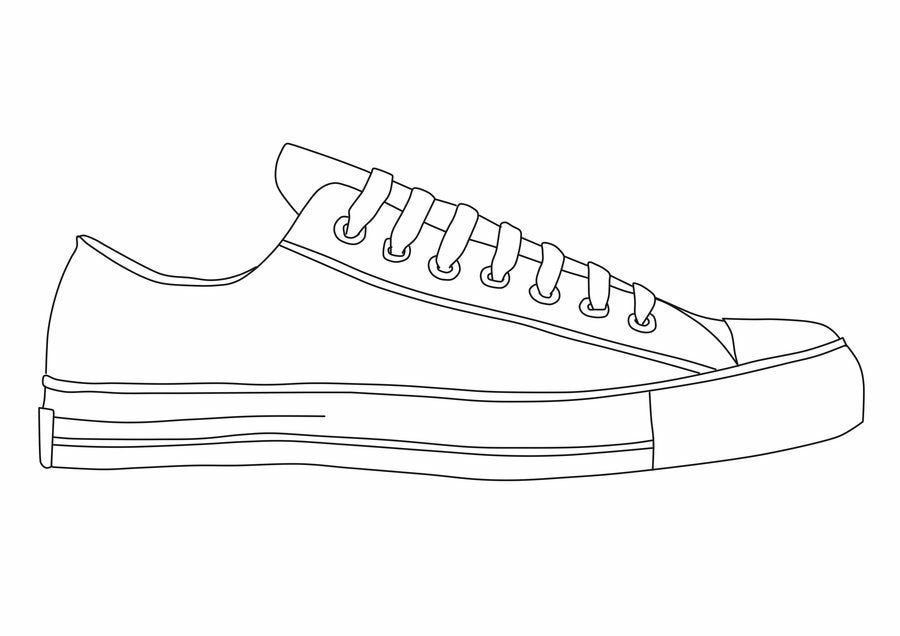
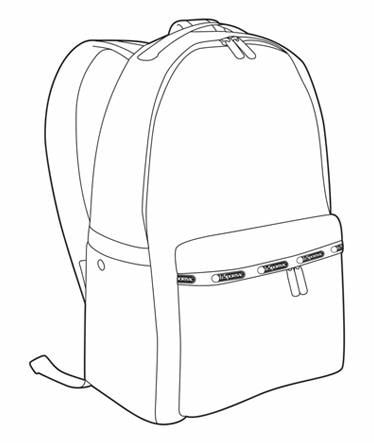
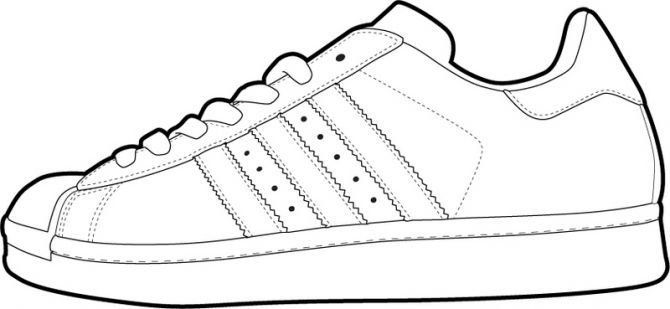
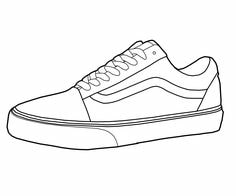
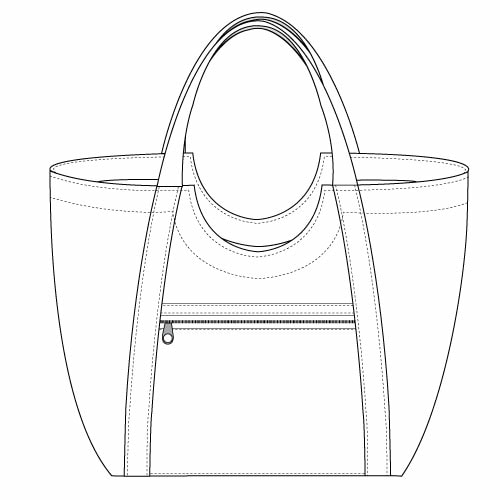
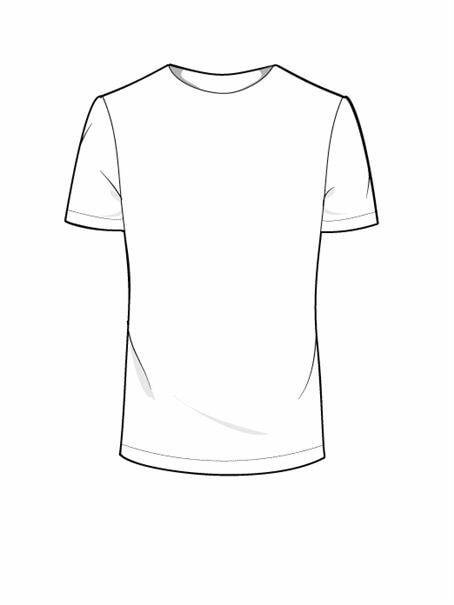
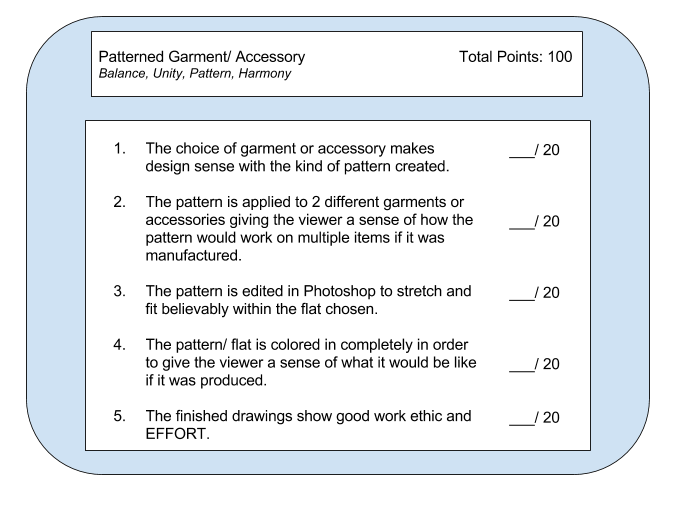
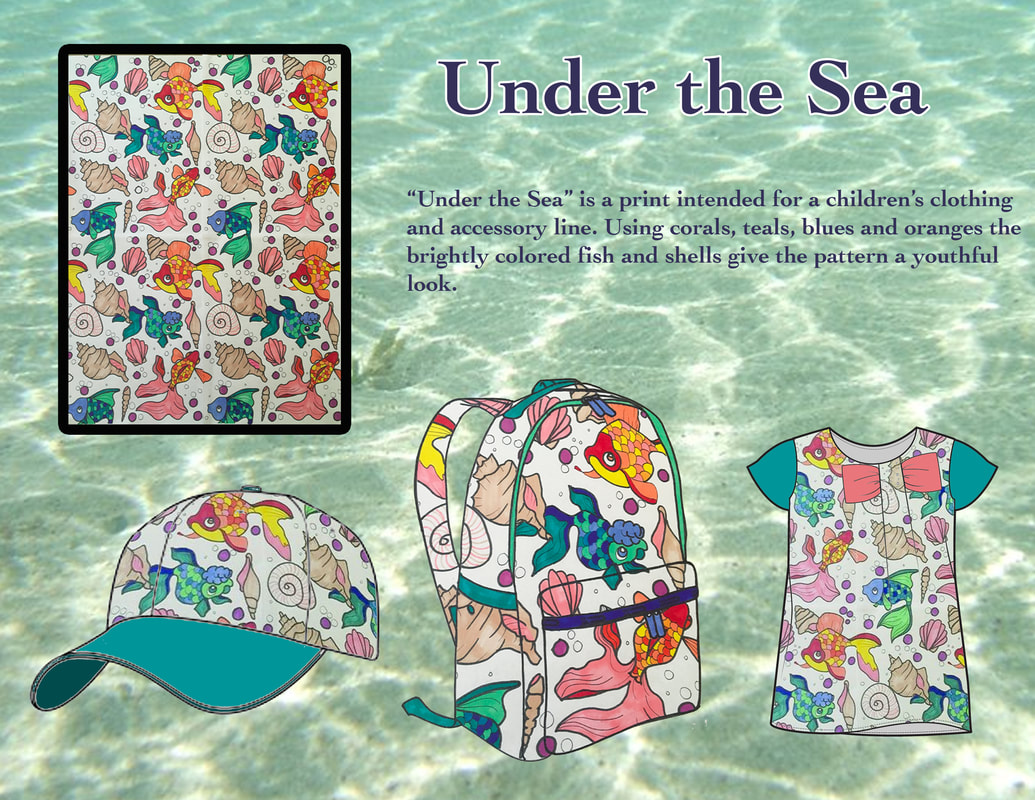
Assignment # 3
You are to take your unique repeating pattern that you created and apply it to a minimum of 3 garments or accessories of your choice. It must include the following:
|
PART 3 VIDEO TUTORIAL BELOW:
|
|
|
|