MRS. DOPICO'S ART CLASS
  • Home
  • Class Procedures/Policy
  • Scholastic Art Awards
  • Foundation in Media Arts
    • Personal Collage
    • Object Portrait
    • Line Tile Paintings
    • Abstract Collage
    • Value Landscapes
    • Pen Tool
    • CharacterSelfie
    • Product Design- Sneakers
    • Perspective City
    • Color Theory
    • Koi Fish Illustration
    • Low Poly Portrait
    • Digital Painting- Galaxy
    • Digital Painting- Study
    • Digital Painting- Still Life
    • Final Project FIMA
  • Advanced Graphic Art and Design
    • Personal Collage
    • Surreal Collage
    • Chimera Collage
    • Zentangles
    • Character Design
    • Storybook City
    • Magazine Cover
    • Visual Pun Illustration
    • Skull/Vanitas Digital Painting
  • Fashion
    • Personal Style
    • Dresses
    • Seasonal Collection
    • Merchandise Board- Repeating Patterns
    • 1910's
    • 1920's
    • 1930's-1940's
    • 1960's
    • 1950's
    • 1970's
    • 1980's
    • 1990s
    • Haute Couture Design
  • Make Up Projects (OSS/ISS)
  • Mrs. Dopico's Artwork

​Digital Painting- Eye/Lips

Final Project Option # 1

  1. Go online and find a picture a pair of lips, an eye and one additional body part (ear, nose, 2nd eye etc) (Usually make-up brands have good clear images of these things)
  2. Copy and paste that photo into a new Adobe Photoshop file. 
  3. Set up your file just like we've done with our other digital painting projects. 
  4. Save the finished paintings (eye, lip etc) as jpegs. 
  5. Open a new Adobe Photoshop file and place in the 3 paintings.
  6. Arrange them. 
  7. Save that file as a jpeg and place it in your google portfolio. 

Reference the apple digital painting tutorial below on how to set you your digital painting.
digital_painting-_apple.pdf
File Size: 2165 kb
File Type: pdf
Download File

Picture
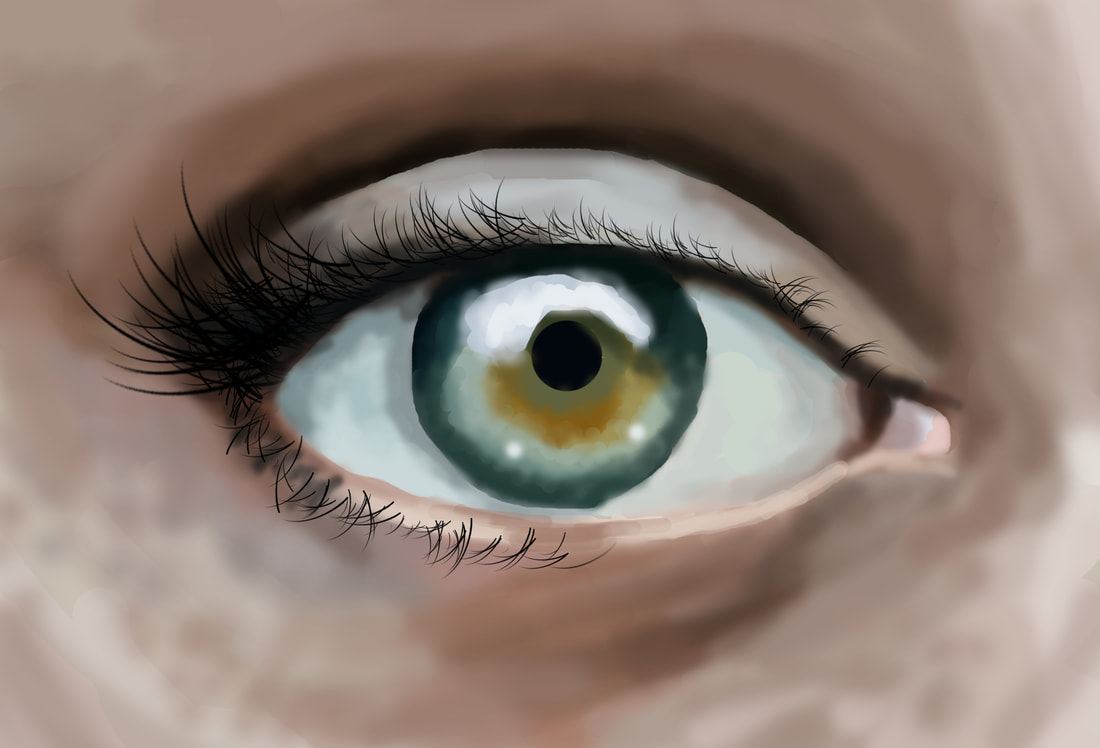
When painting an eye:
  1. A layer for the skin
  2. A layer for the eyeball.
  3. A layer for the eyelashes. 
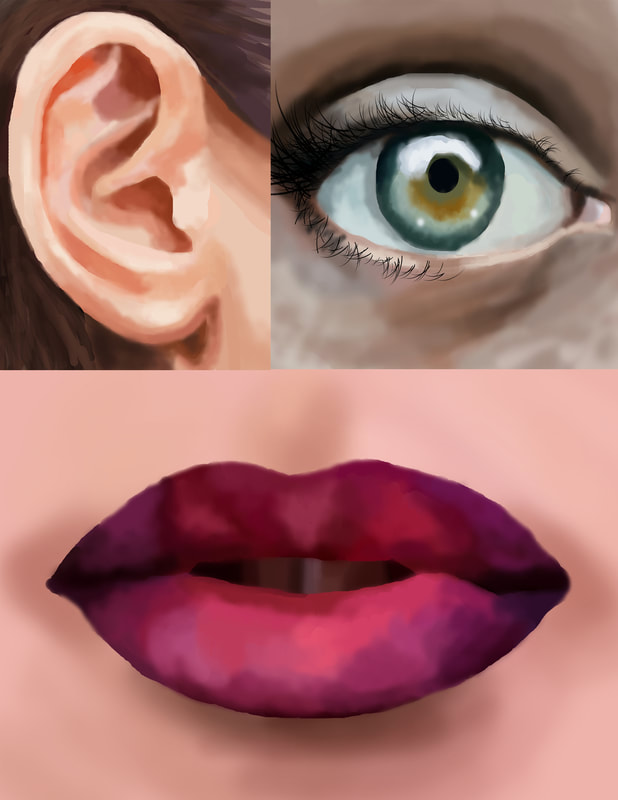
When you've painted all 3 images!
  1. Save them each as jpegs. 
  2. Open a new Adobe Photoshop file. 
  3. Copy and paste each painting into that file. 
  4. Arrange as needed. There should be no white background showing. (Feel free to place the face parts wherever you like.)
Picture
Picture
Picture
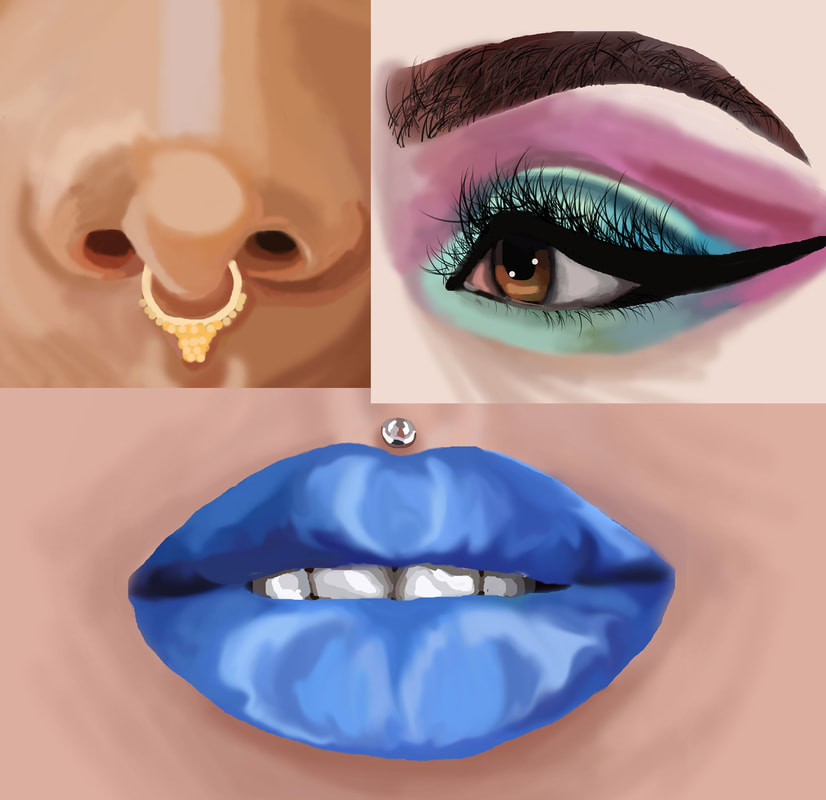
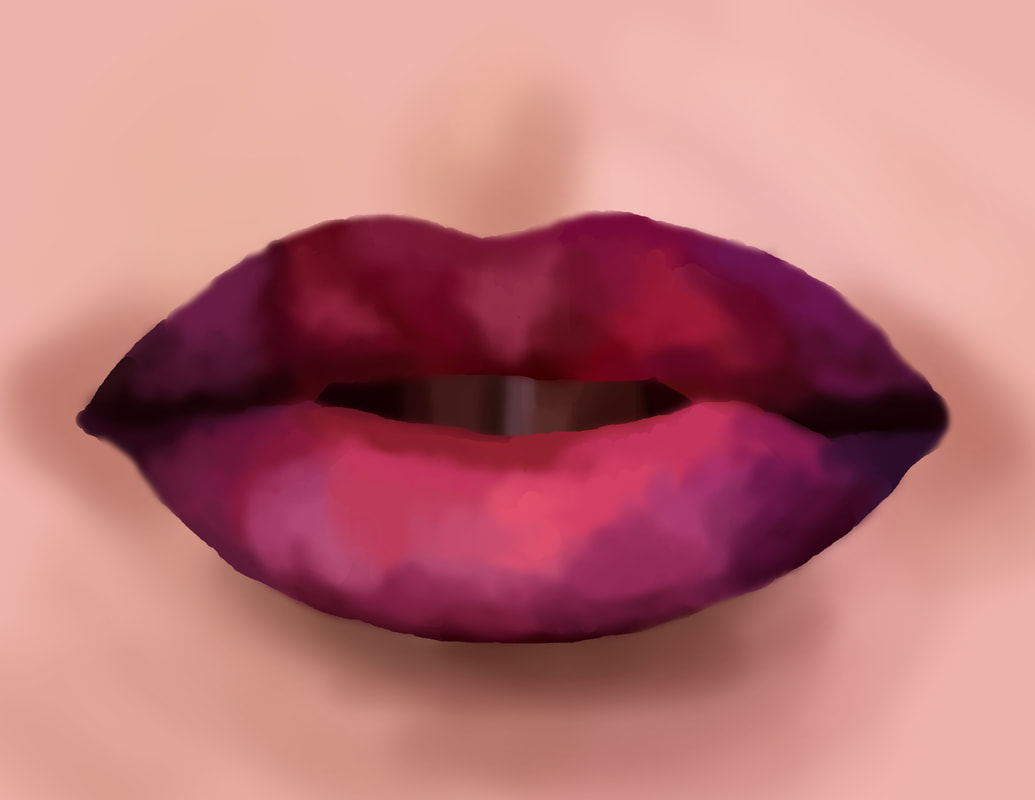
When painting the lips:
  1. A layer for the lips,
  2. A layer for the teeth (if any)
  3. A layer for shadows and
  4. A layer for skin that is filled in with a main skin color. 

Picture
Reflection Questions:

When you are done with your final project, and it is in your google portfolio for grading, answer the following questions in the comment section underneath your slide:
​
  1. What do you think you did well in this project?
  2. Why did you choose the project option that you did?
  3. What do you think you could improve on in this project?
  4. What did you learn how to do, or get better at doing in this project?
  5. Why did you choose the body parts that you did and arrange them where you did?
Proudly powered by Weebly
  • Home
  • Class Procedures/Policy
  • Scholastic Art Awards
  • Foundation in Media Arts
    • Personal Collage
    • Object Portrait
    • Line Tile Paintings
    • Abstract Collage
    • Value Landscapes
    • Pen Tool
    • CharacterSelfie
    • Product Design- Sneakers
    • Perspective City
    • Color Theory
    • Koi Fish Illustration
    • Low Poly Portrait
    • Digital Painting- Galaxy
    • Digital Painting- Study
    • Digital Painting- Still Life
    • Final Project FIMA
  • Advanced Graphic Art and Design
    • Personal Collage
    • Surreal Collage
    • Chimera Collage
    • Zentangles
    • Character Design
    • Storybook City
    • Magazine Cover
    • Visual Pun Illustration
    • Skull/Vanitas Digital Painting
  • Fashion
    • Personal Style
    • Dresses
    • Seasonal Collection
    • Merchandise Board- Repeating Patterns
    • 1910's
    • 1920's
    • 1930's-1940's
    • 1960's
    • 1950's
    • 1970's
    • 1980's
    • 1990s
    • Haute Couture Design
  • Make Up Projects (OSS/ISS)
  • Mrs. Dopico's Artwork